Tropical Mural Magic at Julia Deckman Studio

A Mural at Julia Deckman’s Studio
In navigating getting through this crazy time, I’ve found two things to be true. The first is that getting outside improves my mood ten-fold. The second is that the more I connect with others, the more fulfilled I feel. With these things in mind, the opportunity to paint a mural over at Julia Deckman Studio on James Island couldn’t have been more timely.
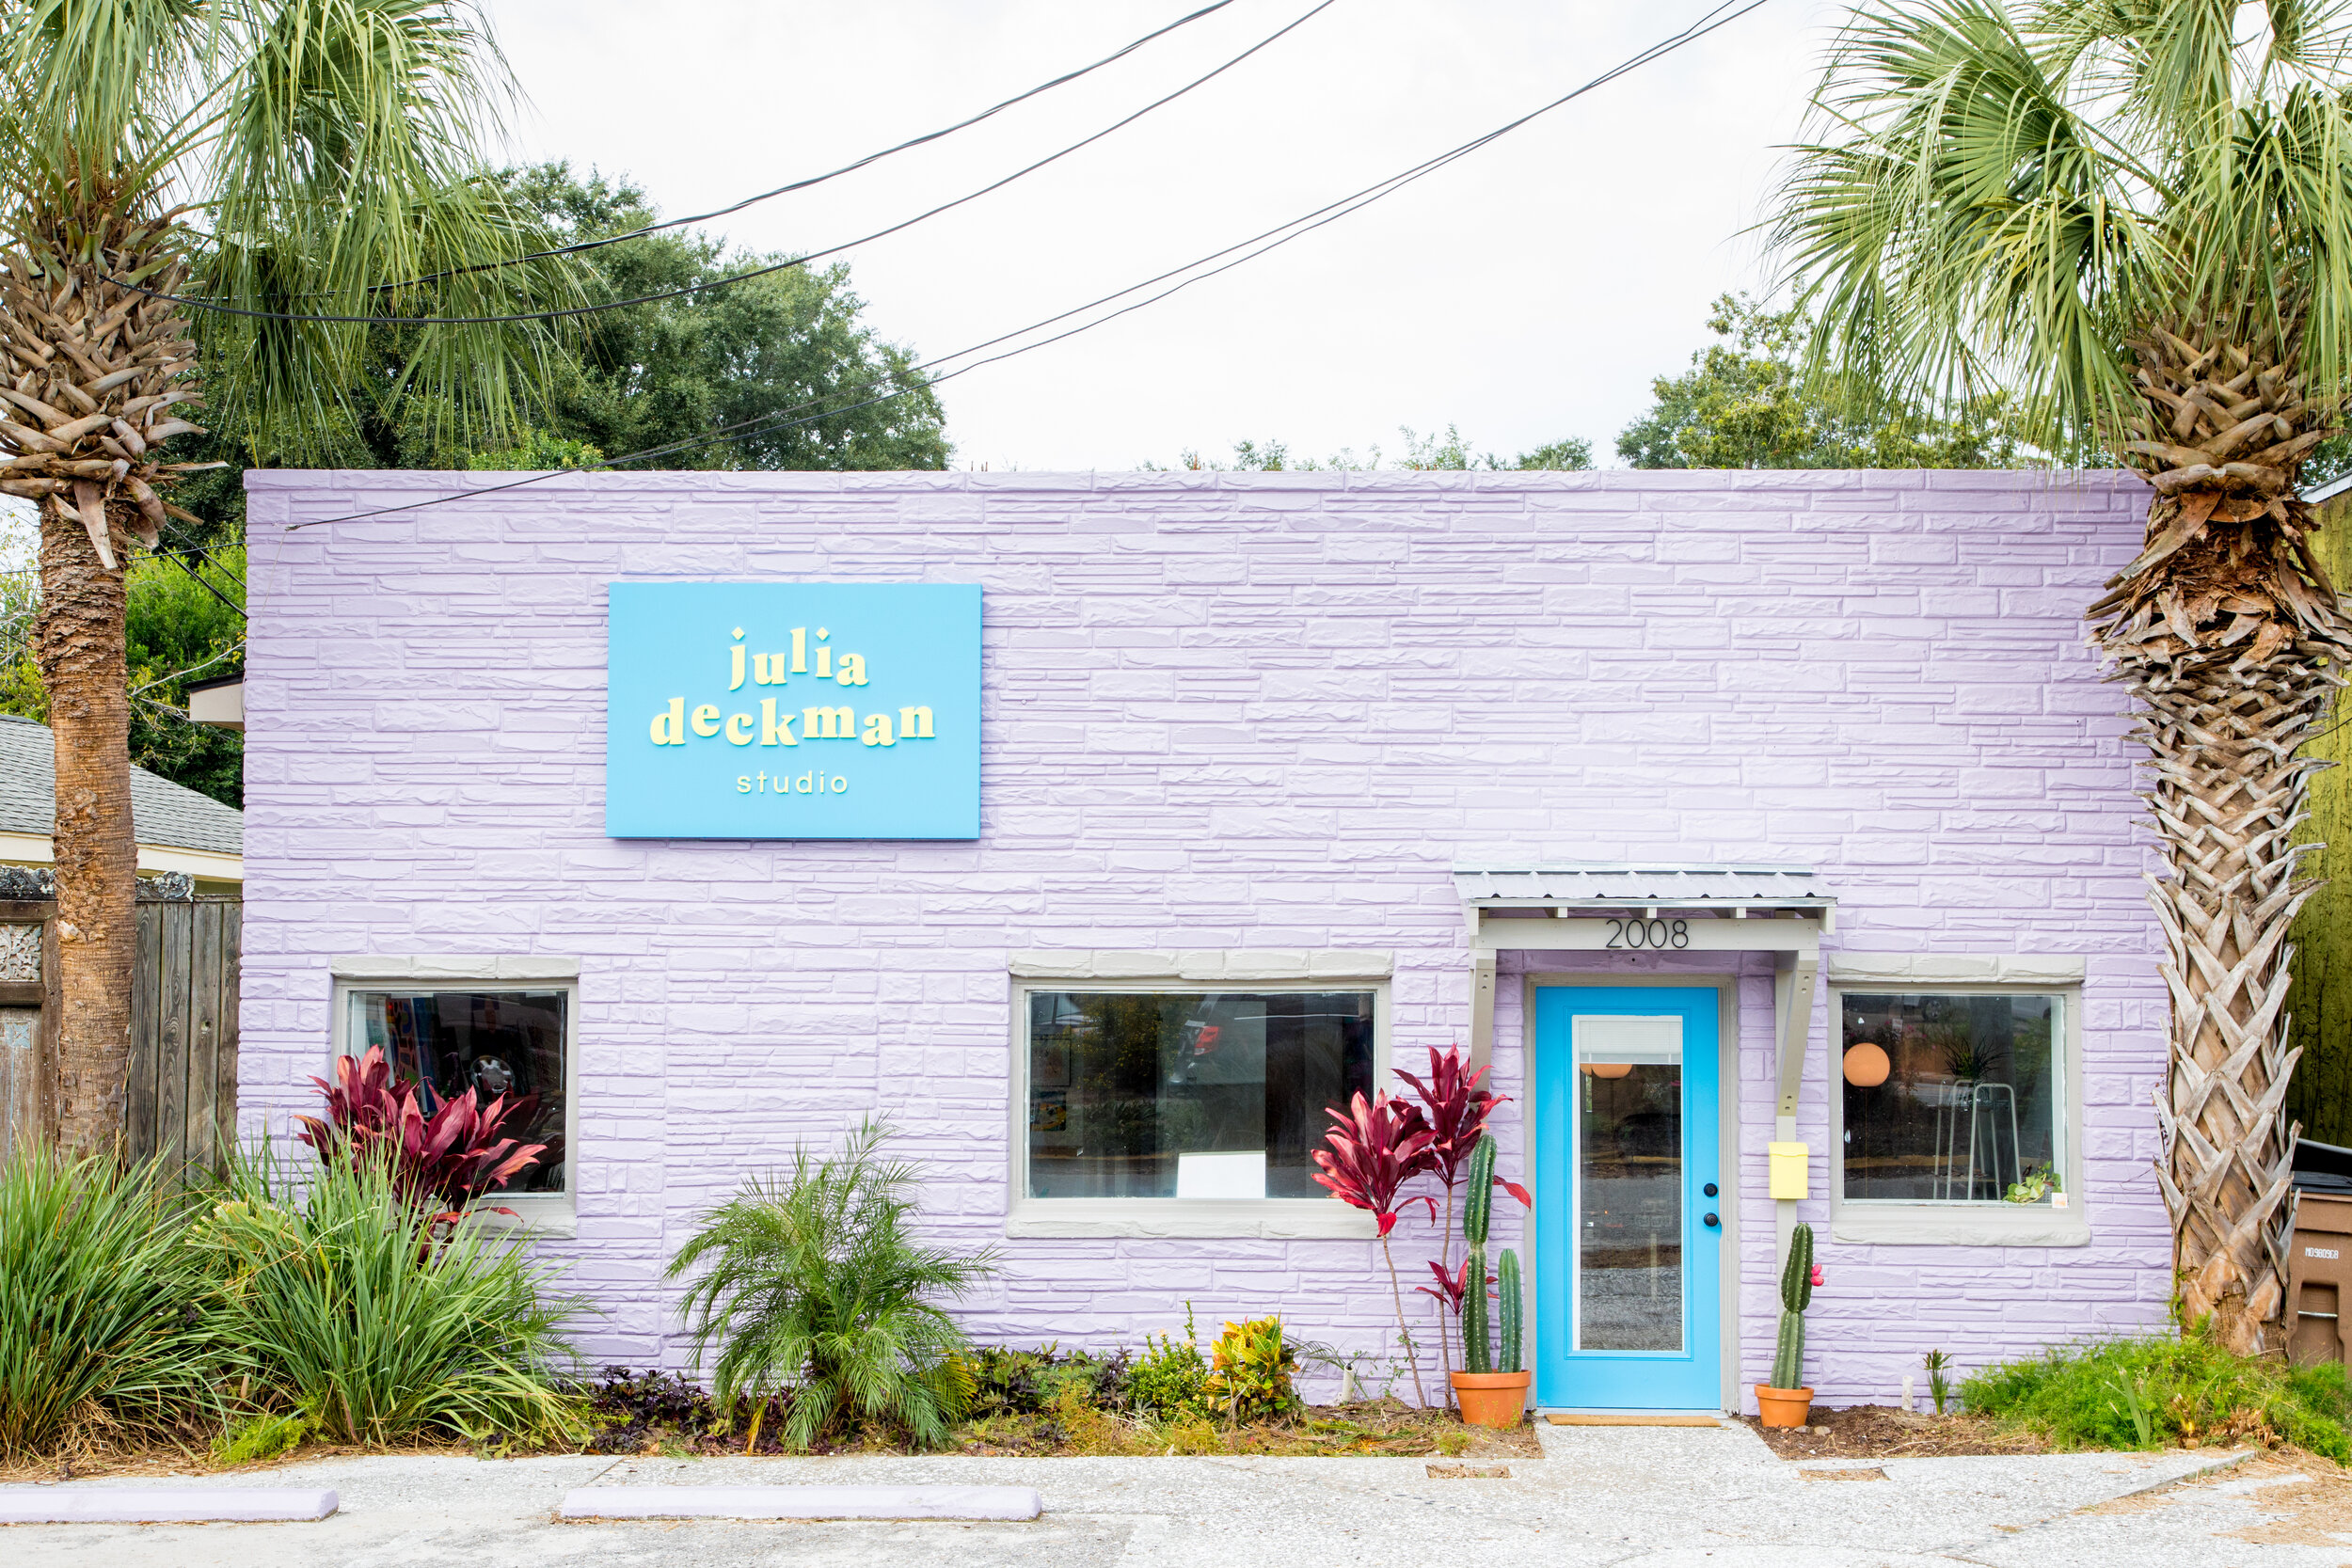
Julia is an incredible advocate for the arts in the Charleston community. After years of having her studio over at Redux Contemporary Art Center, she has opened her own gorgeous space. I am humbled and grateful that she agreed to let me adorn the back of her building with my artwork.
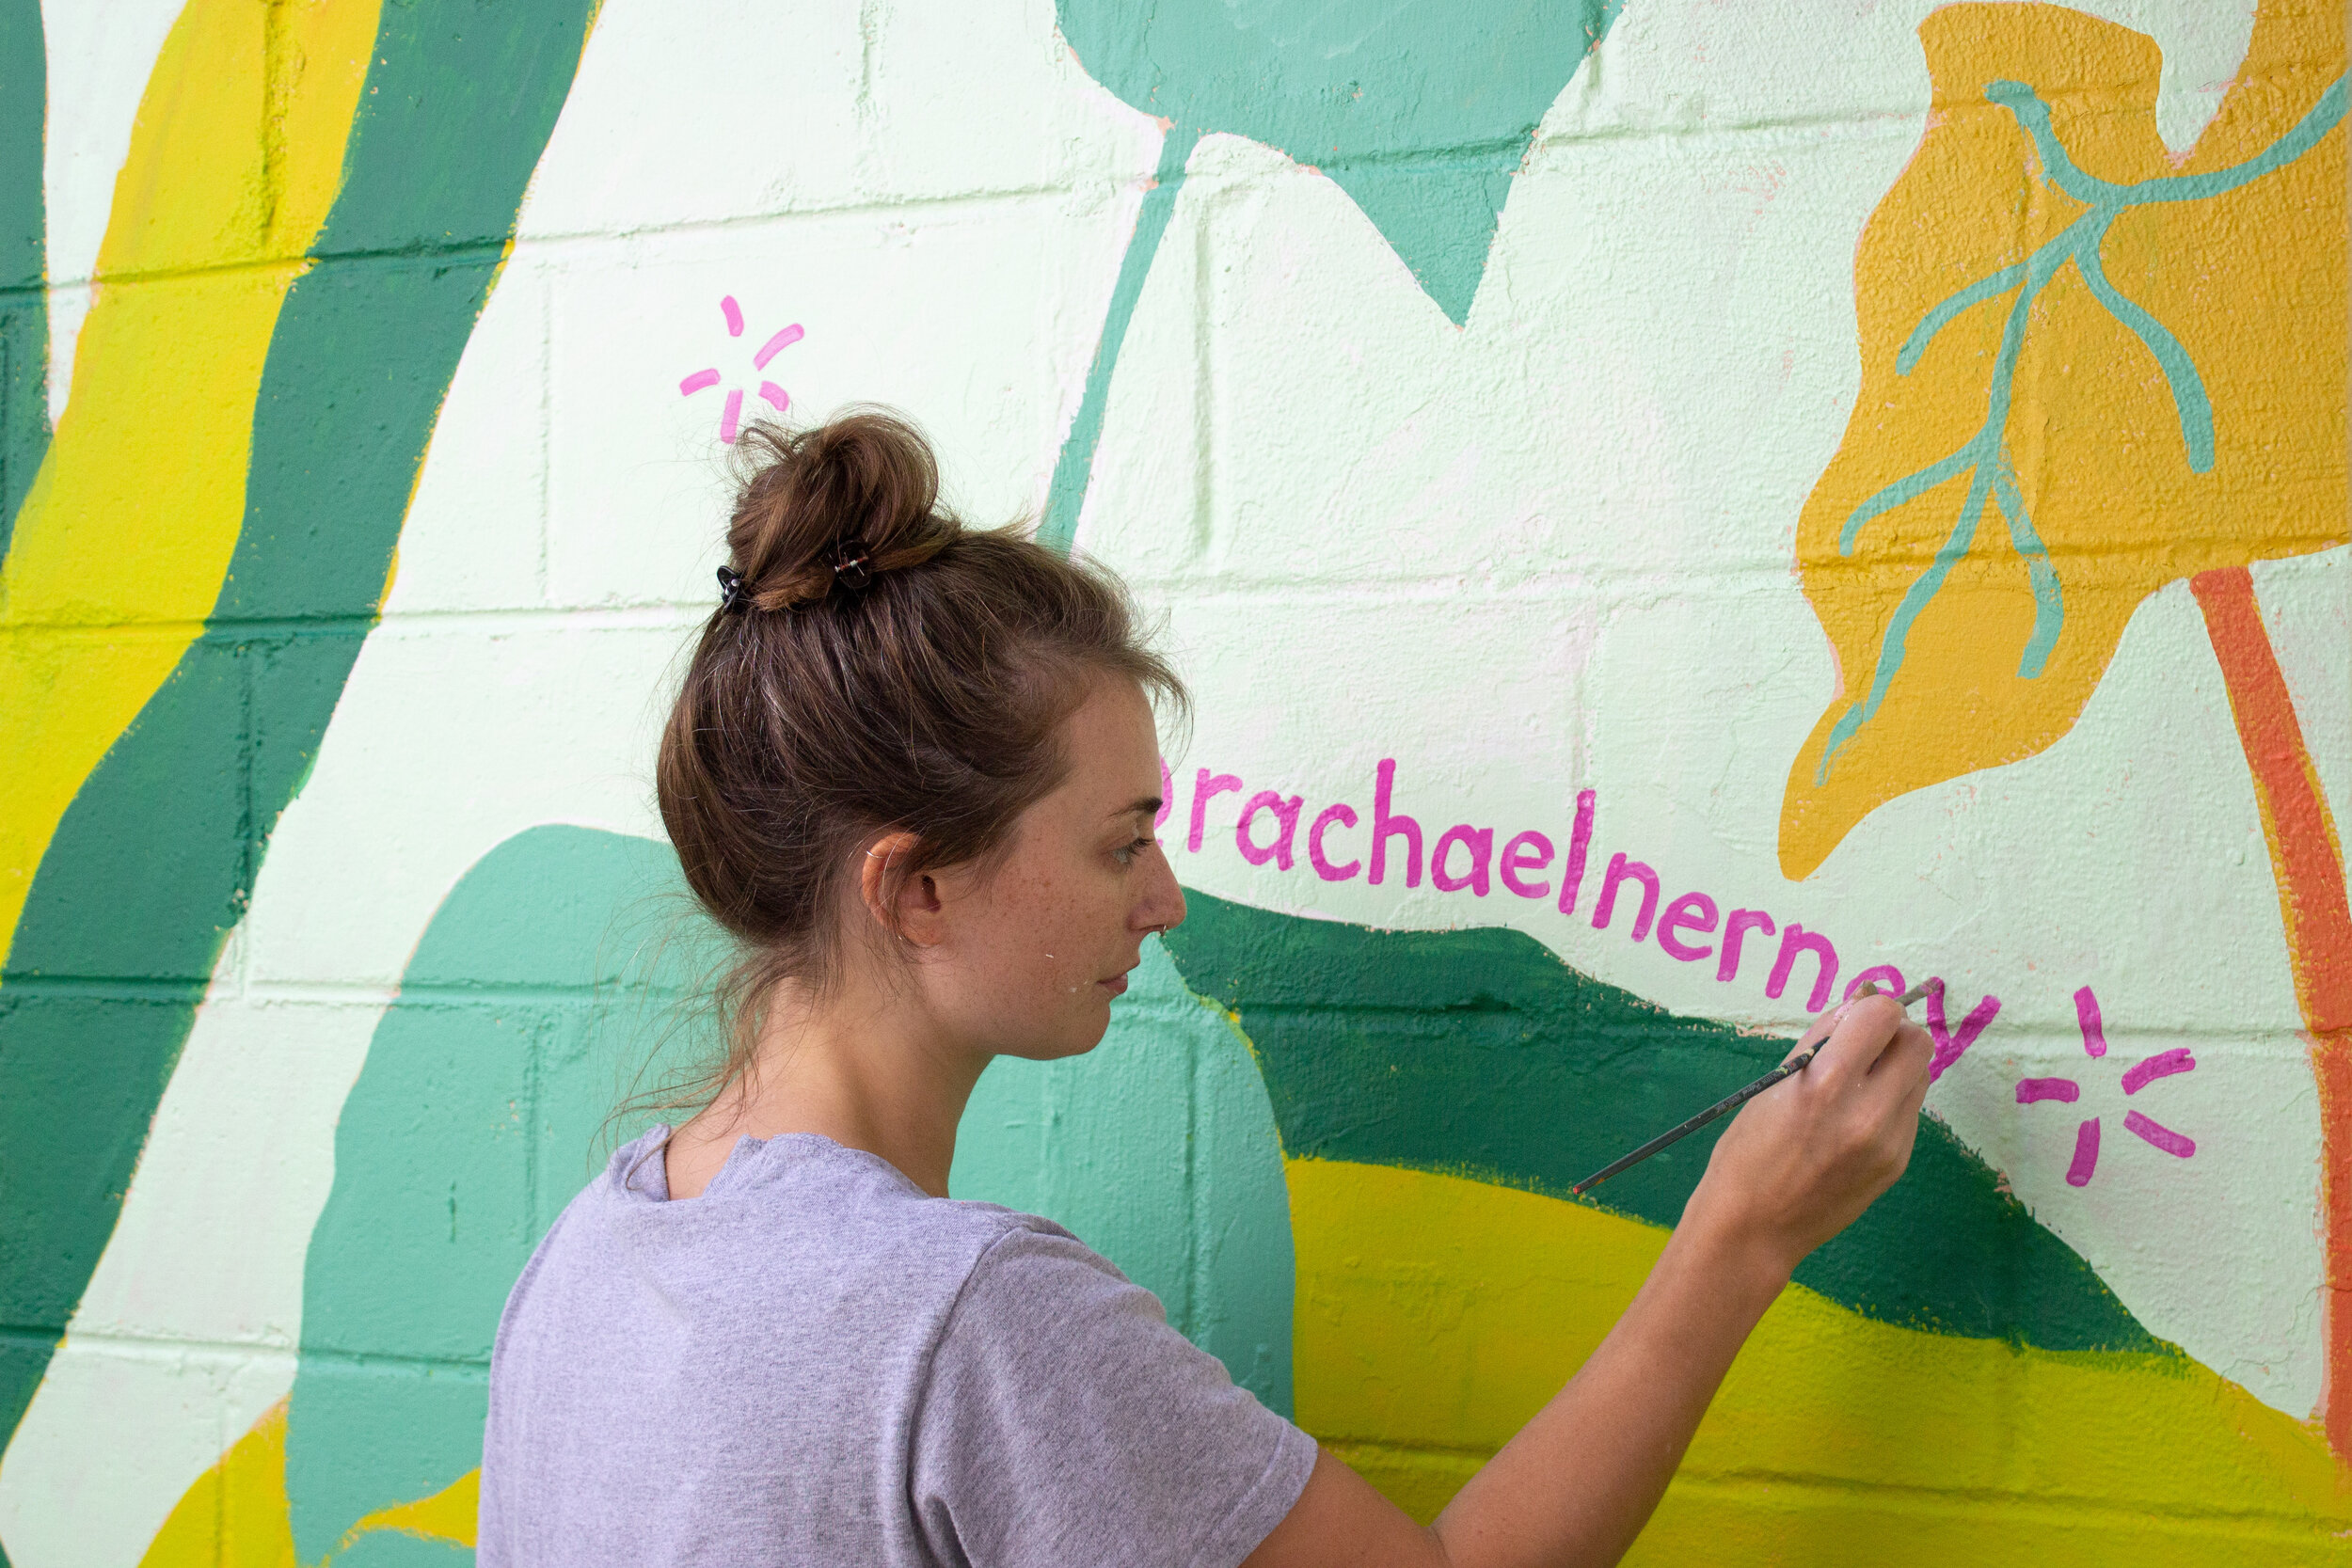
Painting large-scale isn’t exactly a new feat for me. It was a huge part of the work I created for Whole Foods during my time as store artist. We would cover the entire store front windows with hand painted seasonally inspired art. Install day was always the best day - headphones in, music blaring, and creating something life size simply out of paint markers. Fast forward to now, the creation of this mural for Julia’s Studio has been the best way to bring me back to that zen head-space I’d know years before.
The highlights of this project:
Working in a new environment allowed me to stretch my creative brain.
The physical process allowed time to quiet my mind with this crazy time we’re living in.
It energized my creative purpose; spreading joy and building connections through art.
Last but certainly not least, Julia’s studio is officially to the public as of Nov. 1st! Be sure to check out her beautiful, vibrant artwork and all the talented local vendors that she has on site.


Photos by Kate Blohm
The Mural Process:
Step 1: The sketch

This is my original sketch. The grid you see over the image allows me to work on a section at a time when I translate the image onto the wall and also keeps the image to scale.
Step 2. Materials and Prep
Essential Items include:
Brushes
Ladder
Paint Samples
Speaker
The Sketch
Painter’s Tape
Chalk

Here is that grid life, life-size. I taped the lines so I wouldn’t have to paint over real ones.
Step 3. Sketch out the general shapes. Then start painting!
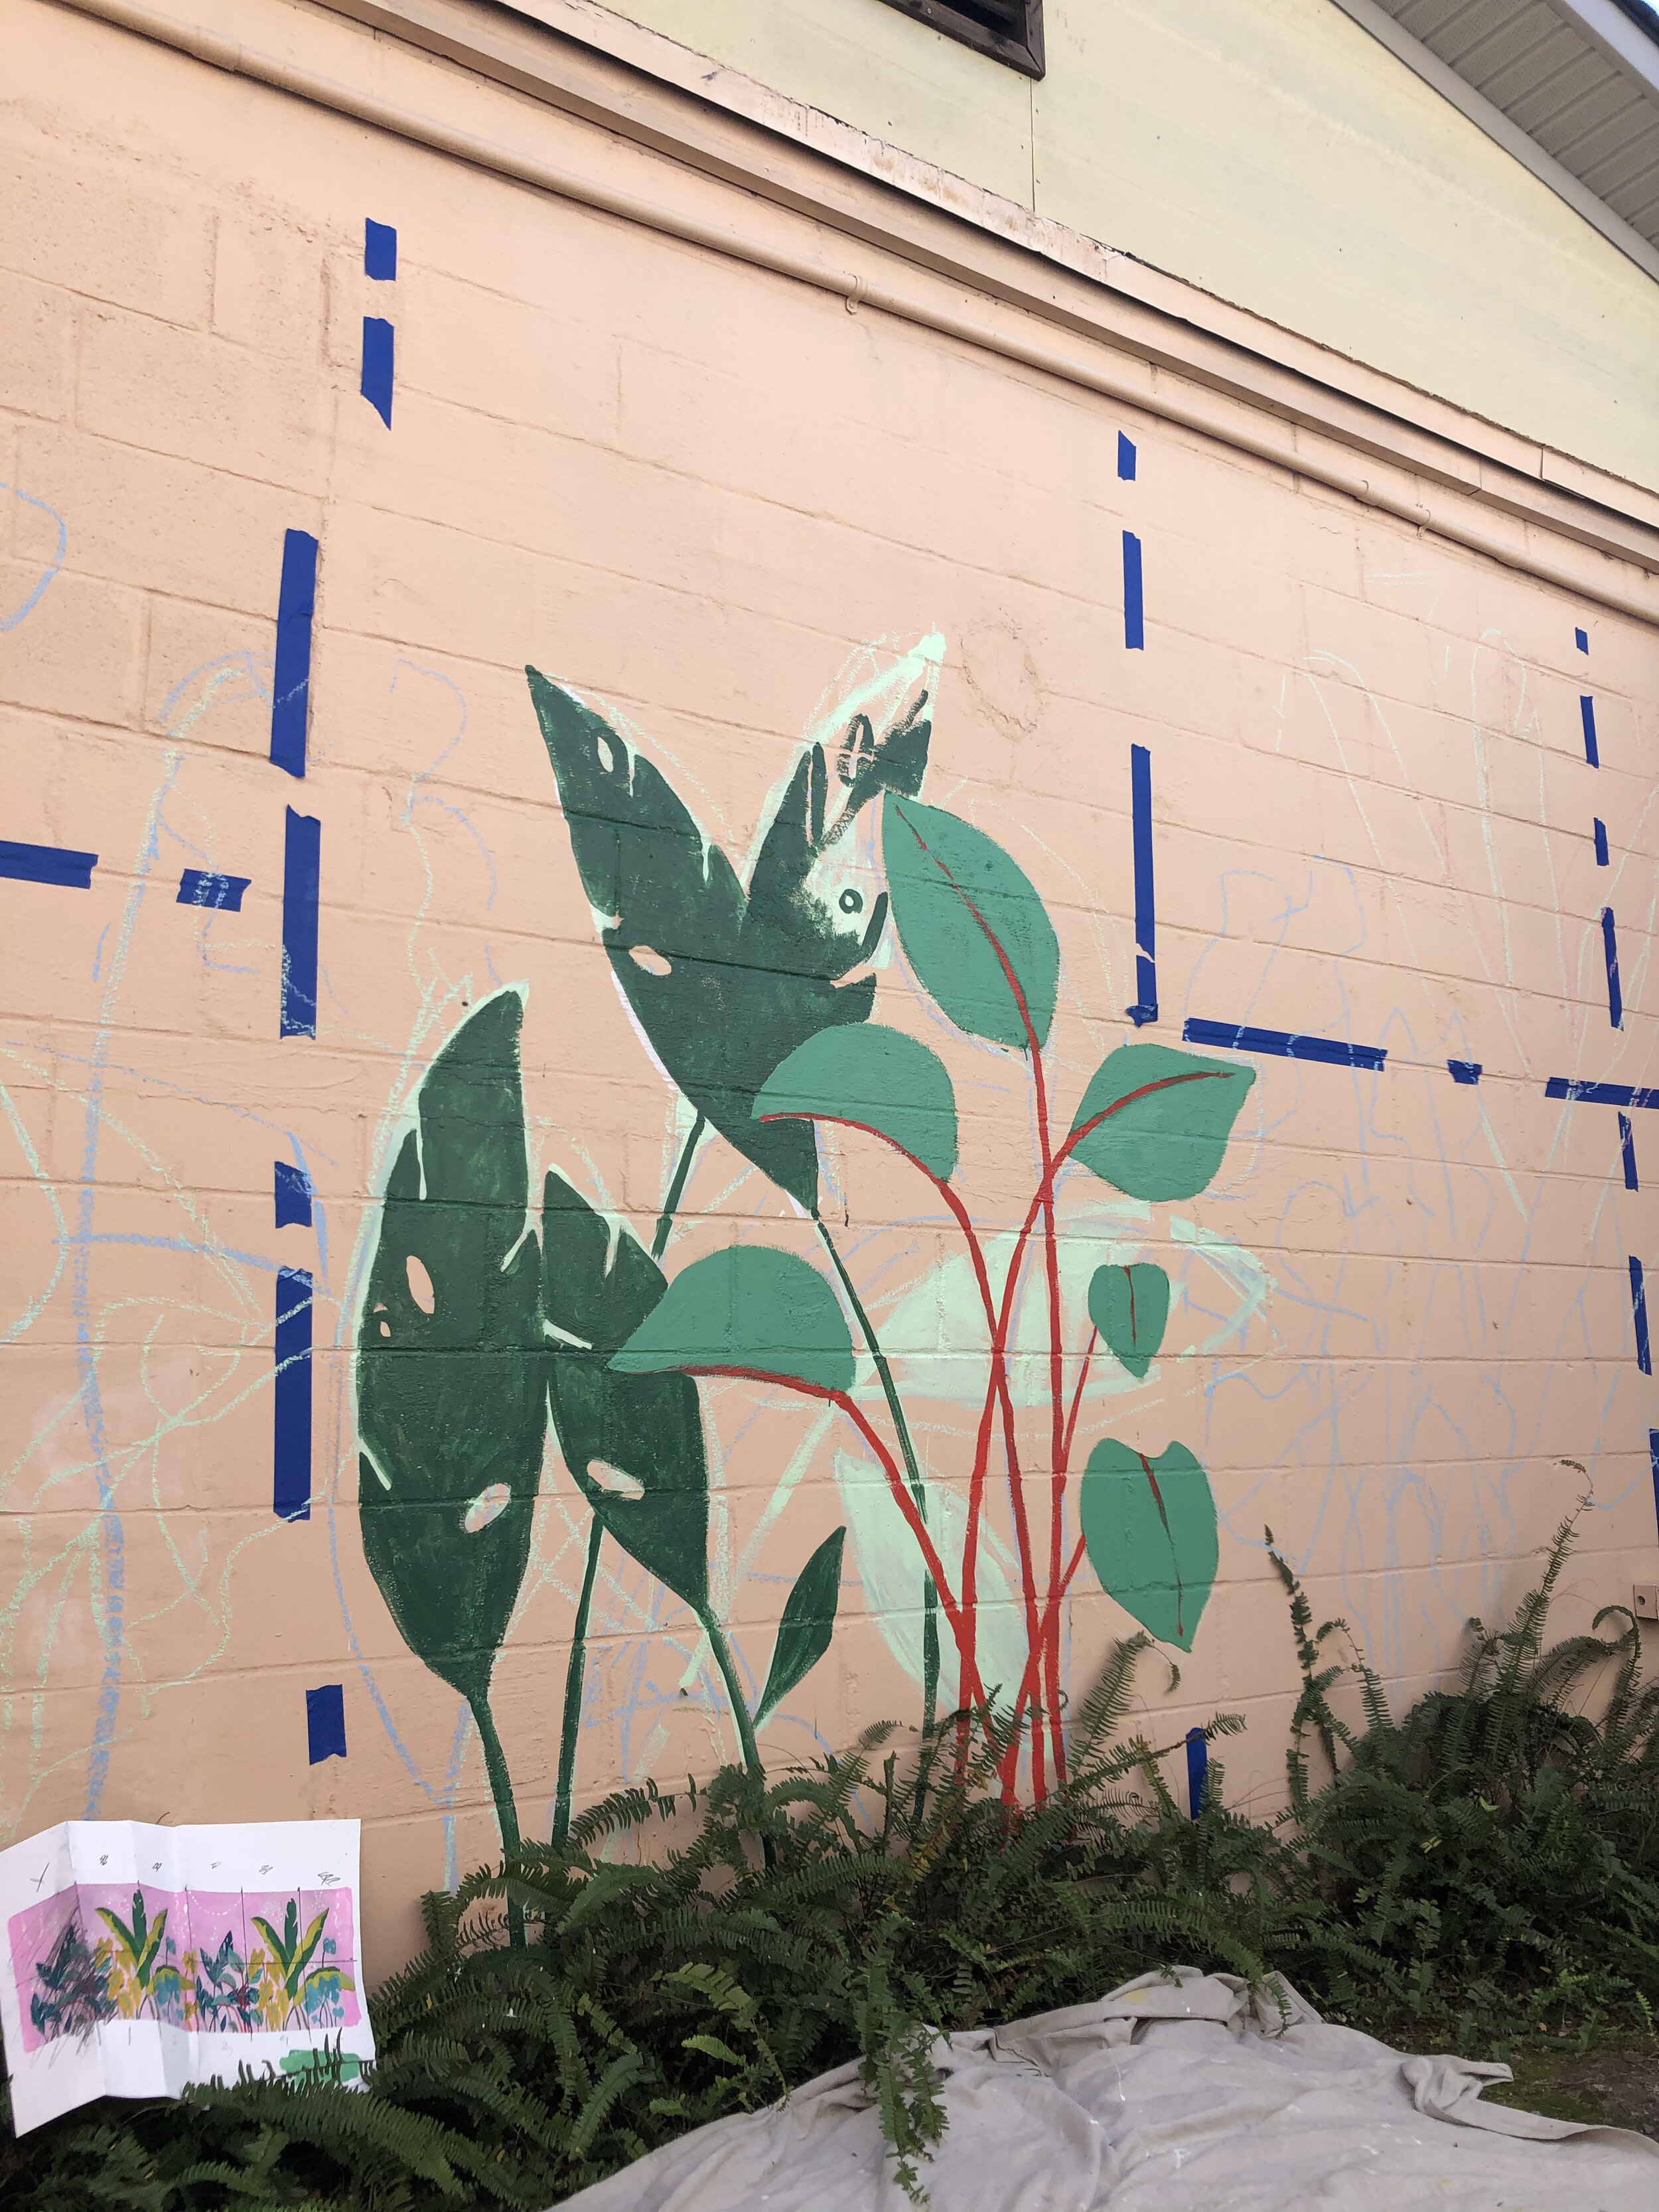
The rough chalk sketch and beginnings - aka the ugly phase.

The initial plan was the keep the background pink, but I fell in love with this mint green! It made all the plants pop and the entire piece feel so fresh.


I loved the natural unfolding of this color palette. So pleased with how joyful the finished wall feels!